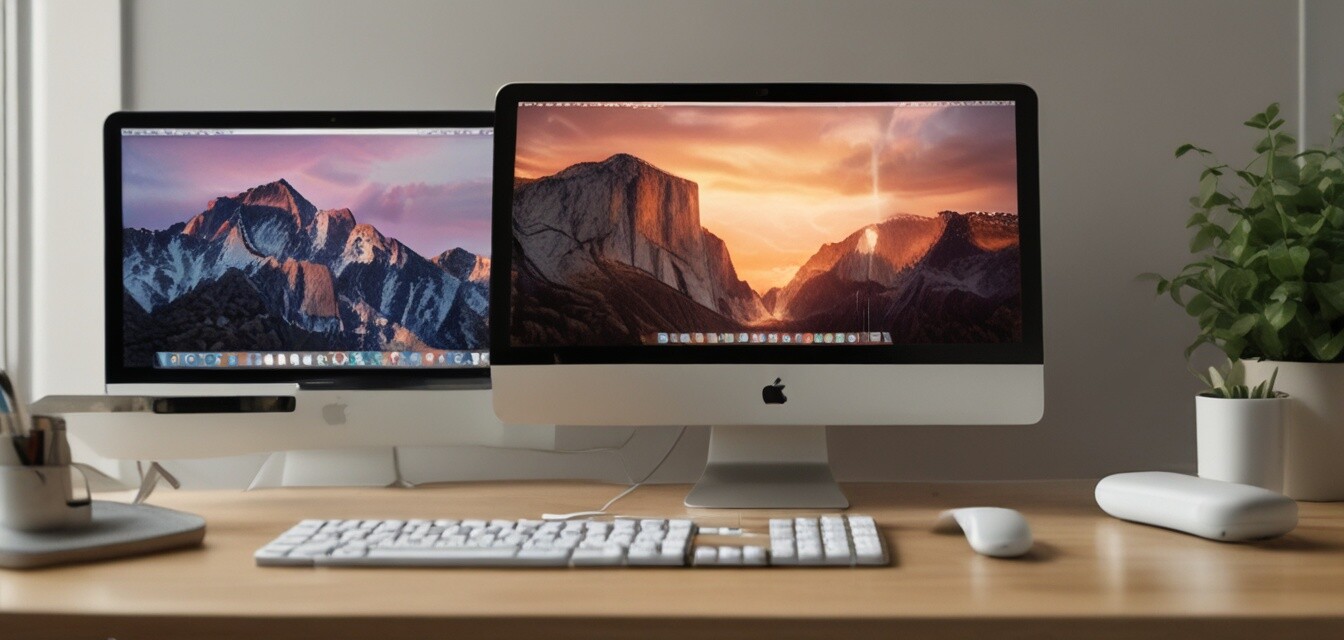
Setting Up Your New Apple Device: A Step-By-Step Guide
Key Takeaways
- Understand the initial settings for your Apple device.
- Learn how to transfer data easily from your old device.
- Explore essential features to optimize performance.
- Utilize tips that enhance usability and experience.
Welcome to the world of Apple! Setting up your new device can be an exciting experience, but it can also feel daunting if you're not familiar with the steps. This guide will walk you through each stage of the process, ensuring you maximize your device's potential and enjoy a smooth transition into Apple technology.
Step 1: Initial Setup
When you first turn on your Apple device, you will be greeted with a setup assistant. Follow the prompts carefully. Here are some of the initial actions to take:
| Action | Description |
|---|---|
| Select Language | Choose your preferred language from the list provided. |
| Connect to Wi-Fi | Select your Wi-Fi network and enter the password to connect. |
| Enable Location Services | Choose whether to enable location services for your device. |
Step 2: Data Migration
If you're switching from another Apple device or another brand, you have options for transferring your data easily. Here’s how to do it:
- Using Quick Start: If you have another Apple device, place it near your new device to use Quick Start, which automatically transfers your data.
- iCloud Backup: If you previously had an iCloud account, you can restore your apps, settings, and data during the setup process.
- Transfer from Android: Download the "Move to iOS" app to migrate data from an Android device.
Step 3: Signing In with Apple ID
Your Apple ID is your gateway to accessing various Apple services. Make sure you have it handy, or create a new account if you're a first-time user. Here are important points:
Tips for Apple ID
- Keep your Apple ID password secure to protect your information.
- Consider enabling two-factor authentication for added security.
- Regularly update your security questions to maintain account security.
Step 4: Customizing Settings
Now that you have set up the basic features, it's time to personalize your device. Focus on these customization options:
- Change the wallpaper to reflect your style.
- Tweak your notification settings to manage alerts effectively.
- Organize your apps into folders for easy access.
| Feature | iPhone | MacBook | iPad |
|---|---|---|---|
| Notifications | Customize how alerts appear on your lock screen. | Taskbar notifications can be set based on your preferences. | Organize alerts for timely info on your home screen. |
| Display Settings | Auto-brightness adjustments based on ambient light. | Control Night Shift for comfortable working hours. | Split-screen mode for multitasking. |
Step 5: Essential Apps to Download
After your device is set up, the next step is filling it with essential applications. Here is a shortlist of useful apps to consider:
- Productivity: Apple Notes and Calendar for organizing tasks and schedules.
- Social: Popular apps like Instagram, Facebook, and Twitter to stay connected.
- Entertainment: Download streaming services you use regularly for convenience.
- Digital Wallet: Set up Apple Pay for quick transactions.
Step 6: Backup and Security
Now that you're settled, consider the following for keeping your data safe:
- Enable automatic backups to iCloud.
- Regularly check for software updates to ensure you have the latest features and security patches.
- Use strong passwords for your accounts and consider a password manager.
Pros
- Easy-to-follow setup process.
- Seamless data transfer from other devices.
Cons
- May take time for first-time users to adapt.
- Some features are only available through subscription services.
By following these steps, you'll quickly set up your new Apple device and make the most out of it. For more tips on enhancing your device experience, check out our Tips and Tricks section.